Are you looking for a contractor?
Submit our quick form and get quotes now!
Table of Contents
6 min read
How to Install a Ceiling Fan: Step by Step
6 min read
How to Install a Ceiling Fan: Step by Step
Interior renovationsHow to Install a Ceiling Fan: Step by Step
When temperatures are soaring during those summer months, we’re all looking for a way to cool off. For homes without central air or other cooling systems, the task may be slightly more difficult. Ceilings fans are an arguably popular option, as they are an environmentally-friendly way to beat heat. Even if your home has air conditioning, ceiling fans can take away some of the strain on the system and during winter months, fans can work to circulate heat around the house.
For the novice or expert alike, installing a ceiling fan is simple. You can easily replace an existing light fixture with a brand-new ceiling fan, even if you don’t have an attic overhead. Without rewiring anything, you can have a cool breeze flowing through the rooms of your home in no time.
Here’s how to install a ceiling fan!
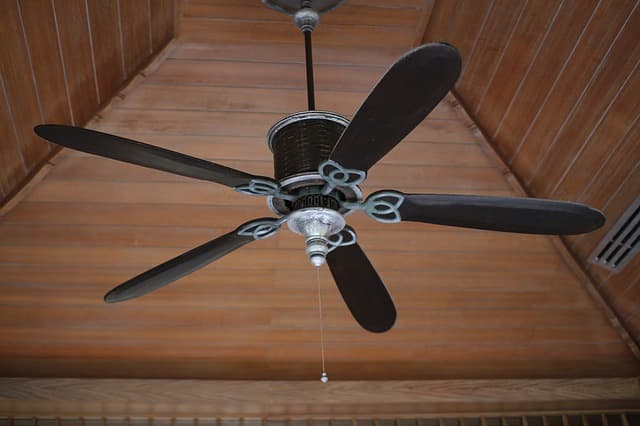
Preparing to install your ceiling fan
source: Pexels
As mentioned, installing a ceiling fan in a spot with an existing light fixture is a simple job that shouldn’t take more than an afternoon. However, it is important to note that most electrical boxes for light fixtures will not be strong enough to support the weight and vibrations generated by a ceiling fan. For this reason, it will be necessary for you to use a specially rated hanger and box and mount the fan between your ceiling joists. If this option doesn’t work for the structure of your home, use a pancake box, which is an incredibly thin box, and screw it into the ceiling joist.
Remove the light fixture
To install a ceiling fan, you’ll have to remove the existing light fixture. To do this, start by making sure the electricity in your home has been turned off, as you don’t want to risk getting an electric shock or worse, electrocuted. Once you are certain that no power is surging its way into the fixture, remove any bulb cover, shades or globes from the old light fixture.
Make sure to do this carefully. Next, you can unscrew or remove nuts and screws that are holding the fixture in place on your ceiling. Make sure to have a second person close by in case the old fixture is quite heavy.
The fixture will now be able to be lowered, and the wires disconnected. You can disconnect the wires by removing the connectors at the end of each wire, as they should easily twist off. Further, the wires should come in two or three colours, black (hot), white (neutral) and sometimes green (ground). Next, disconnect the wires from the ceiling box in place and remove the box itself.
This can be done by first loosening the cable clamp that is working to secure the incoming cable to the box. If you have access to the space above a ceiling fan, by way of an attic or otherwise, work from there when possible. If the old box is nailed to a ceiling joist, you can remove it by prying the nail free using a flat bar. If it has been secured in place with a metal plate, remove this first.
Install pancake box or hanging bar
Start the installation by tracing an outline of the pancake box on your ceiling. Place the box in the center of a joist and trace its perimeter. Next, cut along the line using a drywall saw. This process will kick up quite a bit of dust, so have a vacuum on hand to catch it. Next, you can attach the new electrical box into place. Start by feeding the cable that is sticking from your ceiling through the pancake box.
After this, set the box into the hole that you’ve cut in the ceiling. Press it in place tightly on the underside of the joist. You can use screws to attach this in place, and screws will generally be provided alongside the pancake box.
If they are not, check your local hardware store to find some that are compatible. Following this, wrap the bare copper wire in place, as it will need to be secured around the grounding screw inside the box. Leave the end of the wire hanging down, as this will need to be attached to your new fixture.
In some instances, your ceiling fan will need to be supported by a hanging bar in place of a pancake box. This bar will sit between two of your ceiling joists. To install the bar, start by pushing it through the hole in the ceiling that is left by the old electrical box. Next, rotate it inside the hole until it is perpendicular with the joists.
Most bars will expand until they are able to touch the joists, and will come equipped with sharp steel pins that should secure themselves into the wood of the joists. Finally, you will attach a ceiling box to the hanging bar. This will act as a secure base for the fan, so make sure it locks firmly in place.
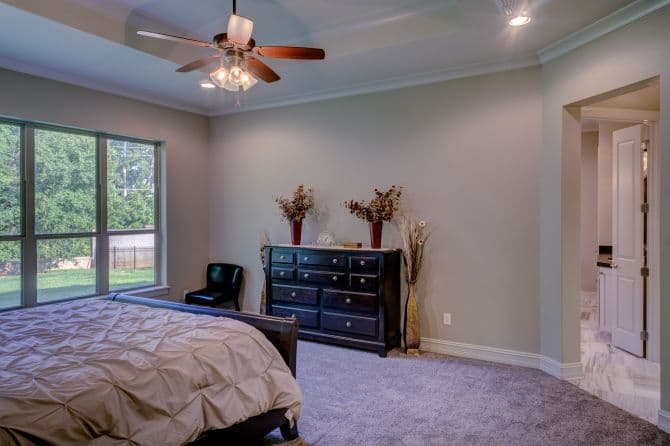
Install your new ceiling fan!
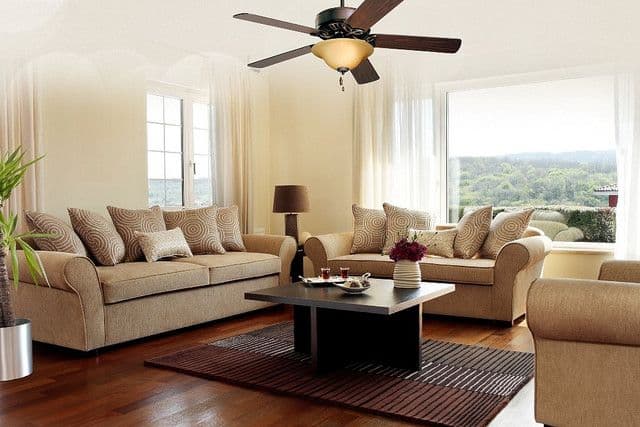
source: Flickr
If the fan has yet to be assembled, make sure to assemble it according to the manufacturer's instructions before installing it on the ceiling. Next, work your way towards the ceiling with your fan. If it’s heavy, get a friend or family member to offer a helping hand. In some instances, you may require another person to hold the fan up while you attach the wires. In other cases, certain models will come equipped with a way to suspend the fan while you are attaching the wires.
The layout of your wires will be dependant on the make and model of your fan, but the installation process should be like that of a regular light fixture. Attach the fan wires to their matching-colour wires located in the ceiling box. Once the wires are secured in place, you can attach the ceiling fan to the box, and this will involve screwing it in place. Finally, turn your home’s power back on, then the fan and wait for the cool breeze to hit your face!
Disclaimer: All tasks that touch on electricity are very risky and should be completed under the safest conditions. Additionally, in certain parts of Canada, only certified electricians are allowed to do this type of work. Please check before you do any electrical work yourself.
Get 3 renovation quotes for your ceiling fan installation
RenoQuotes.com can help you get quotes for your ceiling fan project. If you submit your project to us, we’ll put you in contact with top-rated contractors. Fill in the form on the homepage (it only takes a few minutes), and you will get estimates from trusted professionals.
Dial 1-844 828-1588 to speak with one of our customer service representatives
Last modified 2023-11-07
Looking for something else?
Related articles
The latest industry news, interviews, technologies, and resources.

Christime Simard • 07 Nov 2023
Have you decided to change your floor covering and your choice fell on ceramic? Regardless of the specific tile pattern that caught your attention, you will need to purchase grout.

N/A • 07 Nov 2023
Depending on the household, the utility of the basement differs from place to place. Whether it’s used as a family room, a home theatre or your personal warehouse, there is always room for improvement. However, when it comes to acting on this desire for change you may be faced with a lack of inspiration.

Christime Simard • 07 Nov 2023
In the kitchen, it’s safe to say that messes and stains are quite common occurrences. If you’re anything like me, things tend to pile up or get misplaced and it’s hard to keep the place looking magazine-worthy 24/7.

N/A • 07 Nov 2023
The beauty of a brick exterior is undeniable. It’s captivating, offering a sturdy-looking facade in a way that other materials can’t compare to. However, a modern brick home doesn’t mean the walls will be made of solid brick.

RenoQuotes.com • 07 Nov 2023
Building a home addition is beneficial in many ways. Whether accommodating new members of the family or just looking to add a bit more space, homeowners choose to add rooms to their homes for a variety of reasons. However, you can’t just place an extra room on the side of your house and call it a day! Home additions take careful planning to be executed properly.